Showing posts with label Easy. Show all posts

Friday, February 1, 2013

Ginger Beer Marinade

        The other day I had my extended family over for a barbecue and decided to grill some ribs  I like the country style ribs as they have a lot of meat on them and I had some that I had previously bought on sale. I love to marinate and for all the obvious reasons. It adds moisture, flavor and helps tenderize the meat. They are also easy to make and use. I have also used ginger beer in a brine. Be sure to check out that post as well. A marinade is pretty much some type of liquid acid with seasonings that you soak the meat in prior to cooking. The acid is often vinegar, wine or lemon juice. So I whipped up a couple of batches of marinade for the ribs  The first one was my go to marinade for barbecue.
  • 1/2 cup vinegar
  • 1/4 cup lemon juice
  • 1/2 to 1 cup barbecue sauce
  • 1 teaspoonful liquid smoke - I consider this a must if not using wood or charcoal to cook with
  • 1 teaspoon black pepper
        I usually put all this into a gallon zip-top bag and mix by squeezing from the outside and then put about two to three pounds of meat, or just whatever fits. Squeeze out all the air you can and zip the top shut. You can use pretty much any container that seals water tight. This then goes into the refrigerator for about two hours. I've done longer and that has worked great as well, but two hours seems to be sufficient most of the time. A marinade works from the outside in so flip the bag over about every fifteen to twenty minutes to make sure that all sides get to have as much contact with the marinade as possible. When you are ready grill the meat as you usually would. You can also reserve some of the marinade to baste with wile the meat is cooking. If you do that, make sure that you give it plenty of time for the marinade to fully cook. After all, raw meat was in that juice and you don't want to contaminate your food. I then grilled the ribs and brushed on more barbecue sauce about five minutes before I took them off the grill.

        So that's my usual method for grilling barbecue. In addition to the batch of marinated ribs I just mentioned I did a second batch and tried a new marinade. This one with Ginger Beer as part of the liquid. I was first introduced to ginger beer a while ago. It is a popular soda flavor in many parts of the world, just not in the United States. I find ginger beer to be much stronger than ginger ale, at least when it comes to the ginger. As soda is acidic it can potentially make a good marinade. I used a bottle of Reed's Ginger Beer. The Extra Ginger Brew kind. I picked it up a while back at a Fry's (Kroger) grocery store. I've also seen ginger beer at world markets and the soft drink section at Bev Mo. I enjoy ginger beer but this Extra Ginger Brew was too strong even for my taste, so I never got around to drinking this bottle. On to the marinade.
  • 1 bottle of ginger beer - I think any brand will do
  • a splash of lemon juice
  • 1/4 cup barbecue sauce
  • 1 teaspoonful liquid smoke - I consider this a must if not using wood or charcoal to cook with
  • 1 teaspoon black pepper
        I just followed the steps mentioned above and it turned out great. I wasn't able to ever get all the air out of my zip-top bag as the carbonation in the ginger beer was constantly releasing gaseous carbon dioxide. I did my best though, and it did turn out great.
        I tried one without adding barbecue sauce on at the end, kind of like a control. It was juicy and had a nice flavor. So I think that this marinade is a good one even without the barbecue sauce. The ribs from this batch turned out great. They were more tender and the ginger flavor was a good addition to the barbecue flavor from the sauce. Both batches were great ribs, with the smokey flavor from the liquid smoke and the barbecue flavor from the sauce both working together to turn out an amazing flavor. The ginger beer marinade was a great enhancement to an already great flavor combination. I hope you enjoy it as much as I did.

Monday, January 21, 2013

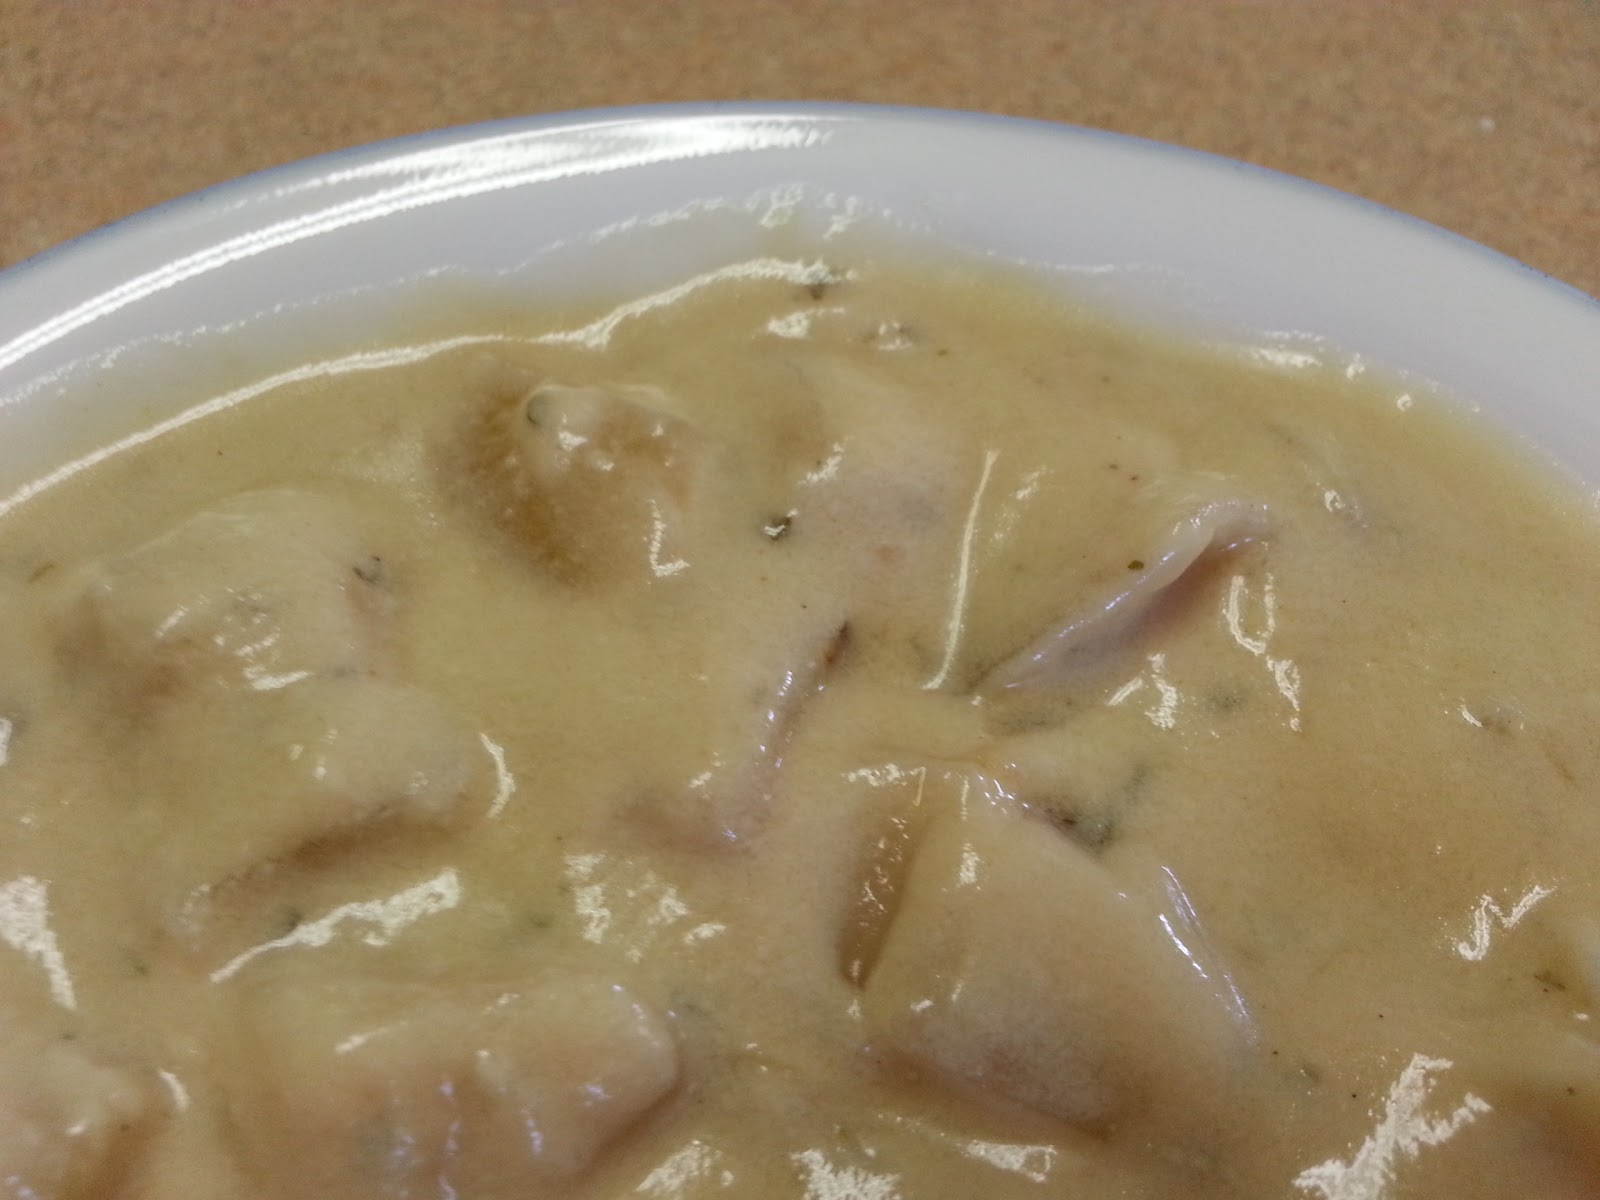
Potato Soup, Slow Cooker Recipe

        Slow cooker recipes are always a welcome addition to my recipe collection. They are usually pretty easy and don't take a lot of skill to make. They also don't require you to heat up your oven and use less energy to do the cooking than your oven. Those are all good reasons to like using a slow cooker. However, a soup like this, with a lot of dairy, takes a little extra care to do in a slow cooker without burning the milk. Still, it is pretty easy to do and turns out great.
        My potato soup recipe is fairly basic and can be modified really easily. The cheese and milk give it a nice creamy flavor that can work well as a base for other ingredients than just potatoes. The leftovers were really great as well. I used milk powder for several of reasons. The first, is that I didn't want the milk to scorch while the potatoes were cooking. The second is that using the milk powder allows for me to have the liquid made almost entirely of milk without risking burning the milk. Also, it is a lot easier for me to commit three quarts worth of powdered milk to a recipe like this because it is stored at room temperature, rather than committing three quarters of a gallon of fresh milk from my refrigerator. While drinking powdered milk does not taste much like drinking fresh milk, I can't tell the difference when using it to cook with. So here it goes.

        This recipe is for a 7 quart slow cooker.
        Prep time: about 20 plus 10 minutes
        Cook time: about 3 to 4 hours plus 30 minutes
        Yield: 14 - 2 cup servings

Ingredients:

  • 5 pounds potatoes, peeled and diced
  • 1 medium to large yellow or white onion, chopped
  • 1 heaping tablespoonful of minced garlic
  • 2 cubes chicken bouillon crushed and/ or dissolved
  • salt to taste ( I used about 2 tablespoonfuls )
  • pepper to taste ( I used about 2 tablespoonfuls )
  • about 2 quarts water
  • 2 - 8 ounce packets of neufchatel cheese (cream cheese will work just fine)
  • 2 & 1/4 cups non-fat milk powder (enough to make 3 quarts of milk)
  • 1/2 cup corn starch
  • about 1 & 1/2 quarts water

Instructions:
        Peel and dice the potatoes and place them in a seven quart slow cooker with about two quarts of water. Add the chopped onion and minced garlic. Salt and pepper to taste and add the chicken bouillon. At this point you may need to add more water. You want to just cover the potatoes and onion with liquid. Cook for 3 to 4 hours on high. The potatoes should be done. 
        Add the cheese and cover with the potato mixture so that it starts to soften and melt while you mix the milk and starch. In a 1 to 1 & 1/2 quarts of water mix enough non-fat milk powder to make 3 quarts of milk. I recommend using a gallon container and a hand mixer for this part. After you have gotten all the lumps out of the milk powder you can mix in the corn starch. You may need to adjust the amount of corn starch depending on how thick you want the soup. Add the milk and suspended corn starch to your slow cooker and stir well. Make sure that the cheese gets well mixed into your soup. Add more water to fill your slow cooker and make sure that everything is mixed well. Replace the lid and cook on high for another 30 minutes. Enjoy
        From the myfitnesspal.com web site I estimate that each 2 cup serving is about 
  • 320 calories
  • 51 g carbohydrates
  • 7 g fat
  • 12 g protein 
        I think several alterations will be great for this recipe. Add a bag of frozen corn to the soup when you add the milk. Add some chicken or bacon in with the potatoes at the start. Some green onion or leeks would also taste great in this. Any or all of those suggestions as well as many others can really enhance this recipe. Go ahead and experiment.
        

Saturday, October 27, 2012

Toasted Pumpkin Seeds


I love pumpkin, and this time of year when pumpkin is in season. So what to do with all that pumpkin. Well we carved our Jack - o - lanterns the other night and I saw this as an opportunity to toast some yummy pumpkin seeds. So here is what I did to make some crispy pumpkin seeds
First, I place all of the seeds into a colander. Then I run water over them and with my hands try to separate all of the other pumpkin guts from the seeds. This does take some time and patience. After I've got all the seeds separated and rinsed off I put them into a large bowl. In another bowl I mix salt and water. About 3 tablespoons for every cup of hot water. The idea is to dissolve the salt into the water. The saltwater mixture is then poured over the top of the seeds until it just covers them. I let this sit for about 15 to 30 minutes. After it has had some time to sit I spread out the seeds on a cookie sheet and bake at 350 degrees Fahrenheit for 30 to 45 minutes. Stir the seeds about every 10 to 15 minutes. After they have baked, the seeds should all be completely dry and crunchy. If they are moist at all or chewy give them another 15 minutes in the oven, then check them again. Repeat as necessary.

I love the salty, nutty crunch of these pumpkin seeds. I hope you enjoy them as well. 

Sunday, October 21, 2012

Single serving Cookie


        First, I have to say I can't think of many good reasons to only make one cookie. I'm all for making dozens at a time. That way, you can have some right out of the oven, and save some for later. Second, I'm not sure cookie is an accurate description either. Maybe, "Single Serve Chocolate Chip Bar". The flavor was just like a chocolate chip cookie. However the texture was a lot closer to that of a brownie. Criticisms aside, it was pretty good. My wife found it on Pinterest. It leads to a blog that is no longer available so I'll just include a link to the pin. The pin my wife found and re-pinned can be found at http://pinterest.com/pin/133208101449311094/ and the process is:

 Mix into microwave safe cup or bowl
  • 1 tablespoon melted butter
  • 1 tablespoon white sugar
  • 1 tablespoon packed brown sugar
  • 3 drops of vanilla
  • a pinch of salt
  • 1 egg yolk
  • 1/4 cup flour
  • 2 tablespoonfuls chocolate chips
Then microwave 40 - 60 seconds. 


         The power of microwave ovens vary a lot from one persons to the next, so you will need to experiment a bit to get the time just right. I also like my cookies a little chewy and gooey. I might try it with a whole egg next time just to see how it turns out. 

      At any rate it was really easy and tasted great. I think the best use for this recipe would be to make this in a bowl and then scoop some ice cream on top. Maybe a little chocolate or caramel syrup and you've got yourself a Chocolate Chip Cookie Sunday. Sounds great to me, I'll have to give it a try sometime.

Saturday, September 29, 2012

Wanted Something Quick

        So I got home from work Friday, exhausted. The power went out a couple of times and as my day job relies heavily on computerized records, the power outages caused a major disruption to our workflow. So the end of my day was a rush to try and catch up. When I got home my wife rushed off to get some well deserved time away from our children and some groceries without the hassle of the kids. This left me in charge of dinner. I like to eat. I love good food. Therefore I cook. I even enjoy cooking. However, I wanted something quick but better than macaroni and cheese. So I turned to a favorite standby.
        Burritos. These can be easily made with leftovers and have always proved to be a hit with my family. Here's what I did.
  • about 1/2 cup chopped onion
  • about 1 teaspoon of minced garlic
  • 1 can of beef chunks (some leftover pot roast works great)
  • 1 can black beans drained (leftover beans also work great)
  • about 1/2 packet taco seasoning (sometimes I've got some left over)
  • some shredded cheese (always good to have on hand)
  • tortillas (also good to have on hand)
  • some diced tomato
  • some sour cream
  • some lettuce (I used some leftover salad)
        First, I sauteed the onion over medium heat in a skillet with extra virgin olive oil until just starting to turn clear. I prefer to use olive oil whenever possible as the fats are healthier and most importantly, I like the taste. Tip: add a small amount of vegetable, or other high smoke point oil, to low smoke point oils like extra virgin olive oil to raise its smoke point and prevent it from scorching. Next, in went the beef chunks, garlic and taco seasoning. After that had some time to sizzle a bit (about five minutes) I added the beans. After it had all gotten nice and hot (maybe another five minutes) it was time to put the burritos together.


        I like my burritos with lots of goodies. So lettuce, tomato, cheese and sour cream went in along with the beef and bean mixture. Rice, guacamole, salsa or hot sauce are also things I enjoy in my burritos. As always, what exactly goes into your burrito would be up to personal preference. In fact, most of these ingredients could be switched up. I could've used pinto beans, or pork. A can of green chili (or some fresh roasted, yum) would be great too. 


        I thought they turned out great and really hit the spot. My kids loved them, and my wife was a little jealous to see what we had while she was away.
         All in all, it only took about 20 minutes to put together. It was much better than mac and cheese or even just some re-fried beans smeared into a tortilla. A little imagination, even with leftovers, can go a long way towards making something great.